| Prev | Next |
Add Resource Records
Within an element, you can create a record for each Resource that you want to add to the element.
Add a Resource
Display the properties of the element to which you want to add the Resource record, and click on the 'Add New' button. A menu displays offering options to add various features to the element. Select the 'Add resource' option. The 'Add resource allocation to <element name>' dialog displays.
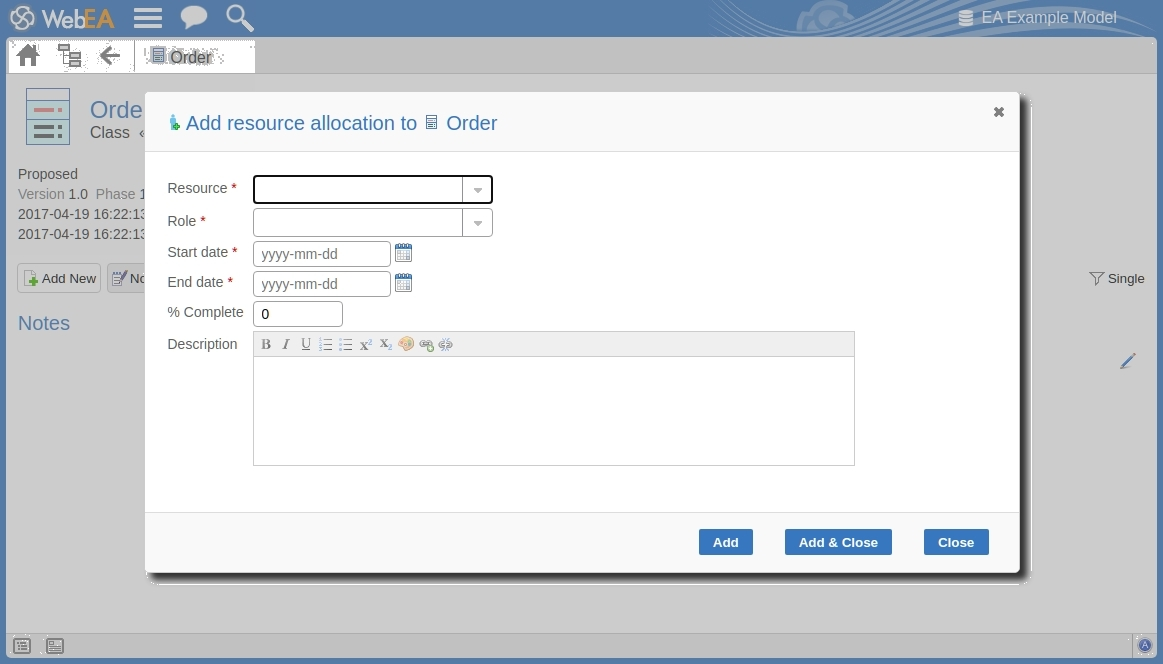
Mandatory fields on the dialog are indicated by a red asterisk (*).
Complete the fields as directed here.
Field |
Action |
See also |
|---|---|---|
|
Resource |
Click on the drop-down arrow and select the name of the person to be allocated as the resource. |
|
|
Role |
Click on the drop-down arrow and select the role of the resource in this work; for example:
|
|
|
Start date |
Click on the calendar icon and select the date on which the resource is expected to start the assigned work. |
|
|
End date |
Click on the calendar icon and select the date on which the resource is expected to complete the assigned work. |
|
|
% Complete |
Click on the up and down arrows to change the field value to the percentage completion of work that the resource has achieved. |
|
|
Description |
Type in a description of the resource allocation - what the work is, why this (kind of) resource is required to do it, and any criteria that must be satisfied. You can format this text using the facilities provided in the Notes toolbar. These are:
|
|
|
Add |
Click on this button to submit the details and create the Resource Allocation record on the selected element. This message is displayed: Resource allocation for <name> was successfully added to <element name> Either:
|
|
|
Add & Close |
Click on this button to add the Resource item (as described above) and also Close the dialog. |
|
|
Close |
Click on this button to close the dialog. |